
Formatting a microSD card on a Mac is quick — but "quick" is exactly why people lose data doing it. Choose the wrong file system and your camera or phone won't read the card; select the wrong drive in Disk Utility and you'll wipe something you needed. This guide walks through the safe, step-by-step way to format a microSD card on macOS in 2026, which format to pick for which device, and what to do if you format the wrong card.
From the engineers at CBL Data Recovery Singapore, who recover data from formatted SD cards every week.
Before you start: back up first
Formatting erases the card's file system. Anything on the card — photos, videos, documents — becomes inaccessible the moment you format. So the first rule is simple: copy everything off the card first if it holds anything you want to keep. Only format a card you're certain is empty or already backed up.
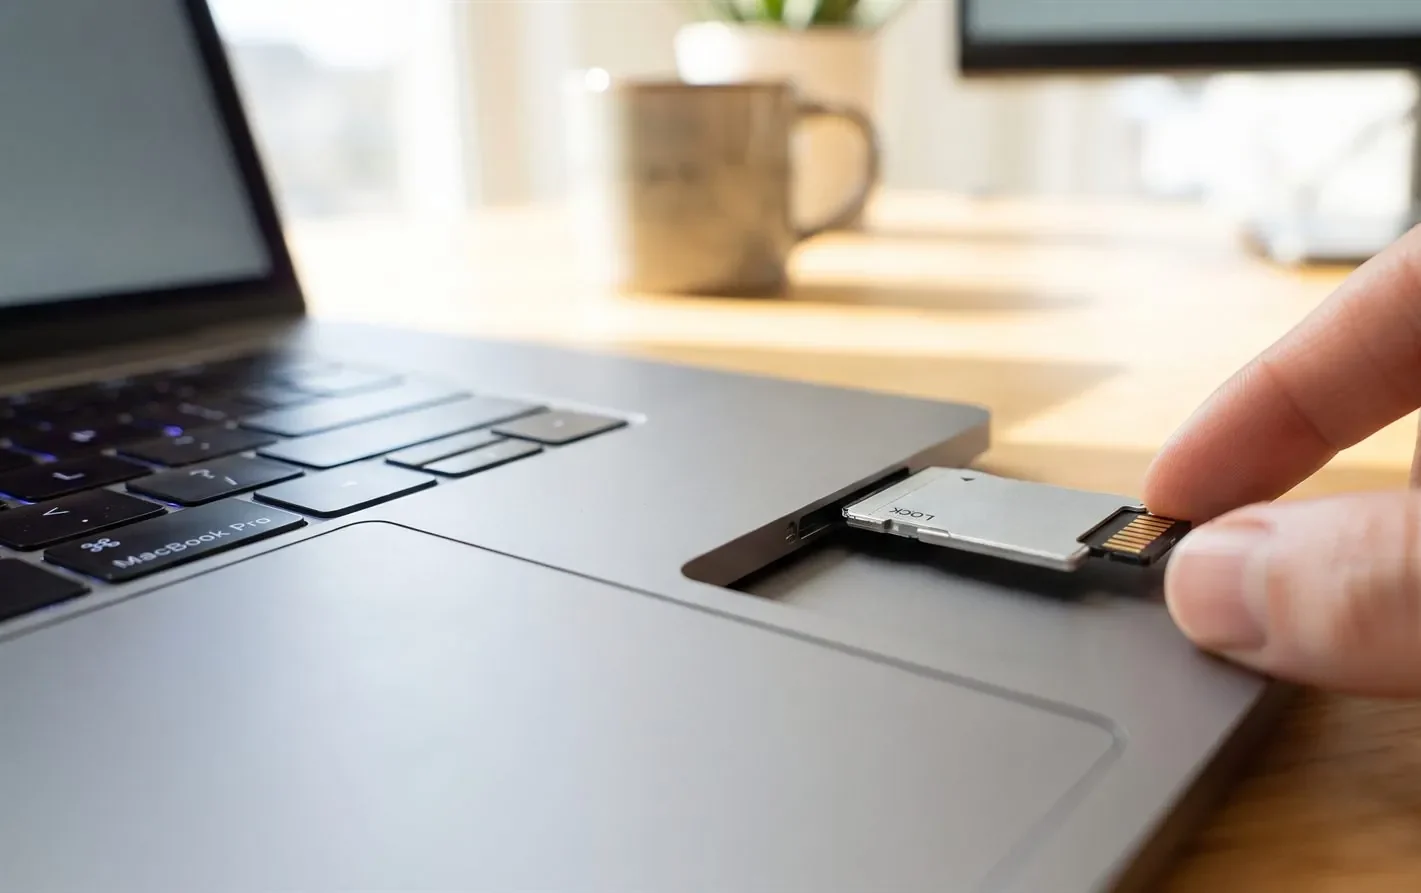
You'll need a way to connect the microSD to your Mac: a microSD-to-SD adapter in the SD slot (on Macs that have one), or a USB card reader.
Which file system should you choose?
macOS offers several formats. For a microSD, the choice depends on where you'll use the card:
- exFAT — the best all-round choice for cards of 64GB and larger. It works on Mac, Windows, most cameras, drones, and Android devices, and has no practical file-size limit. Choose this for most cards.
- MS-DOS (FAT32) — needed for some older cameras, dashcams, and devices that don't support exFAT. It has a 4GB per-file limit, so it's a poor fit for long 4K video.
- Mac OS Extended (HFS+) or APFS — Apple's own formats. Only choose these if the card will be used exclusively on a Mac. Cameras and Android devices generally can't read them.
If you're formatting a card for a camera, phone, or dashcam, use exFAT (or FAT32 if the device requires it). Reserve APFS/HFS+ for Mac-only storage.
Step-by-step: formatting in Disk Utility
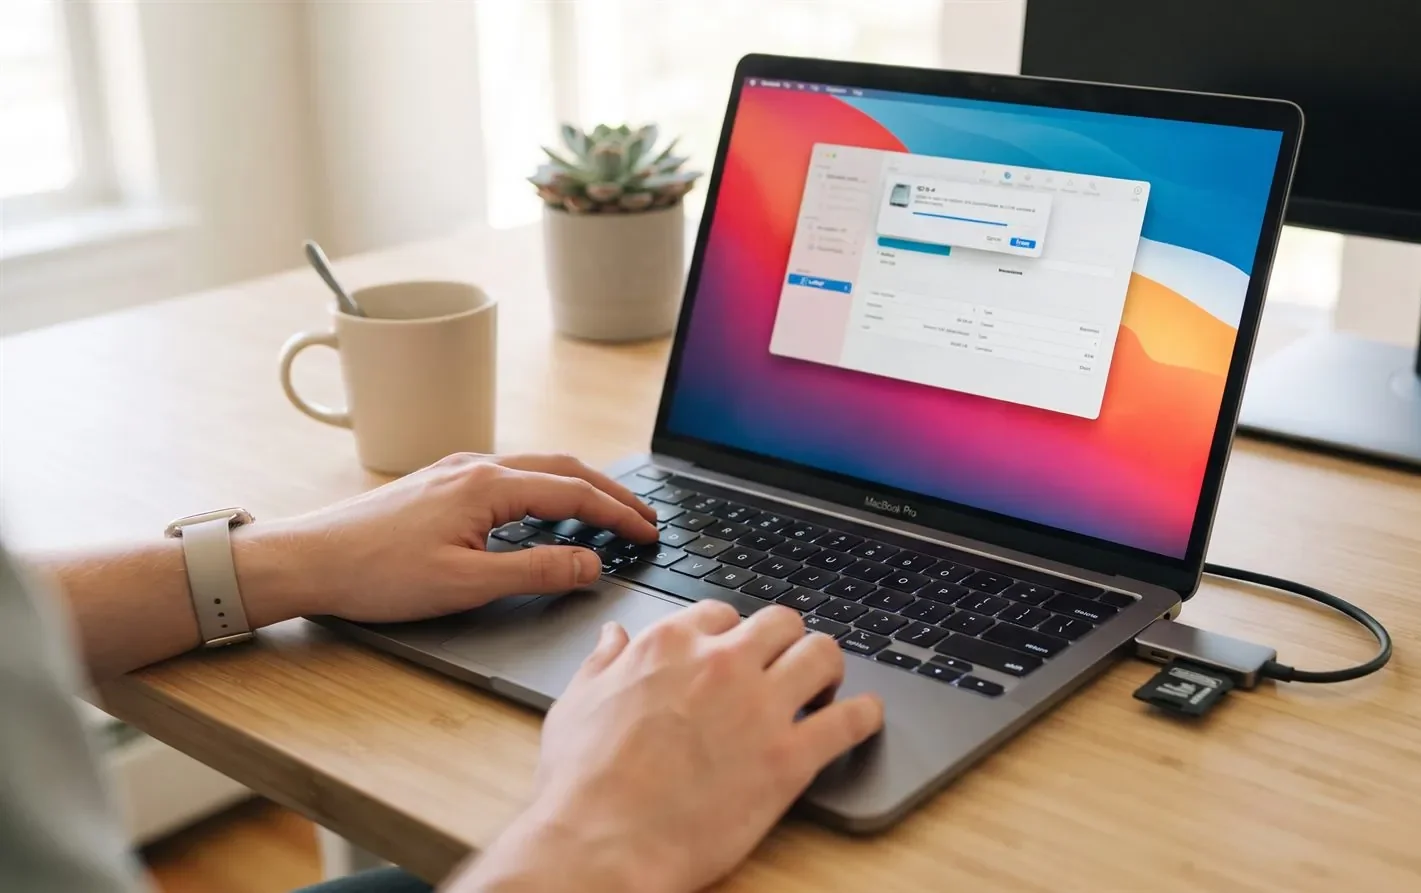
- Insert the microSD into your Mac (via SD adapter or USB reader).
- Open Disk Utility — press ⌘+Space, type "Disk Utility", and press Return.
- In the sidebar, click View → Show All Devices so you can see the physical card, not just its volume.
- Carefully select the microSD card in the sidebar. Check the capacity to make sure it's the card and not your Mac's internal drive or another disk. This is the step where mistakes destroy data.
- Click Erase in the toolbar.
- Give the card a Name, choose the Format (exFAT for most uses), and if asked for a Scheme, choose Master Boot Record for maximum device compatibility.
- Click Erase, wait for it to finish, then Eject the card safely.
That's it — the card is now clean and ready to use.
The two mistakes that cause data loss
Almost every formatting disaster comes down to one of these:
- Selecting the wrong disk. Disk Utility lists every connected drive. Formatting the wrong one — an external backup, or in rare cases the wrong volume — wipes it. Always confirm the capacity and name before clicking Erase.
- Formatting a card you thought was empty. People format "to clean it up" and only later realise the card still held the only copy of some photos. Check twice; a card is cheap, the photos aren't.
If you formatted a microSD that still had important files, the data is usually still there — a quick format only removes the file-system index, not the files themselves. But every new photo or write reduces what's recoverable. Take the card out of the device immediately, don't add anything to it, and run recovery software or send it to a lab. See our SD card recovery service.
Can you recover a formatted microSD card?
Usually, yes — if you act quickly. A standard (quick) format on macOS removes the file-system table but leaves the actual data on the card until new data overwrites it. Because SD cards don't run TRIM the way SSDs do, formatted photos and videos often remain fully recoverable.
- For a logical format with no new writes: recovery software (PhotoRec, Disk Drill, and similar) can scan the card and rebuild the files. Always recover to a different drive, never back onto the card.
- If the card is also physically damaged (cracked, water-damaged, not detected): that needs chip-level lab recovery, since the data lives on the memory chip.
The single most important thing is to stop using the card the moment you realise the format was a mistake.
When to call a lab
Call a lab when a formatted card also won't be detected by any Mac or reader, when it's physically cracked or water-damaged, when DIY software fails to find your files, or when the data is irreplaceable. Labs perform chip-level recovery on cards that software can't reach — and stopping early keeps your odds high.
CBL's cleanroom lab recovers photos and files from formatted, corrupted, and damaged microSD cards — free diagnosis, fixed quote before any work.
- WhatsApp: +65 8127 7508
- Call: +65 6588 0261

The bottom line
Formatting a microSD on macOS is a two-minute job in Disk Utility — back up first, pick exFAT for most uses, and triple-check you've selected the right card before clicking Erase. And if you do format the wrong one, don't panic and don't keep using it: a quick format is very recoverable, but only until new data overwrites the old.