
Running Android on a Windows PC has never been more useful. Whether you want a bigger screen for mobile games, a way to run Android-only apps, or a second life for an ageing laptop, 2026 offers more mature options than ever — from full desktop-class Android operating systems to polished emulators.
But the choices are confusing, and the wrong one can mean sluggish performance, broken app stores, or — if you install a full OS incorrectly — wiped files you never backed up. This guide from the team at CBL Data Recovery Singapore ranks the six best options for 2026, explains who each one suits, and shows how to set up safely without risking your data.
What "Android OS for PC" actually means
There are two different things people mean by running Android on a PC, and picking the right category matters:
- Emulators run Android inside Windows as an app. Nothing on your PC changes; you keep Windows and simply launch an Android window. Best for gaming and running a few apps.
- Full Android operating systems install Android as the computer's OS (or alongside Windows in a dual-boot). These give the best performance and a true desktop-Android experience, but installing them touches your disk partitions — which is where data loss happens if you're careless.
A quick note on Microsoft's own option: the Windows Subsystem for Android (WSA), which let Windows 11 run Android apps natively, was wound down by Microsoft in 2025, so it is no longer a long-term choice. The tools below are the ones worth using going forward.
Will your PC actually run it?
Most failed installs are not the software's fault — the machine was never set up to allow it. Four checks take about five minutes and save an entire evening.
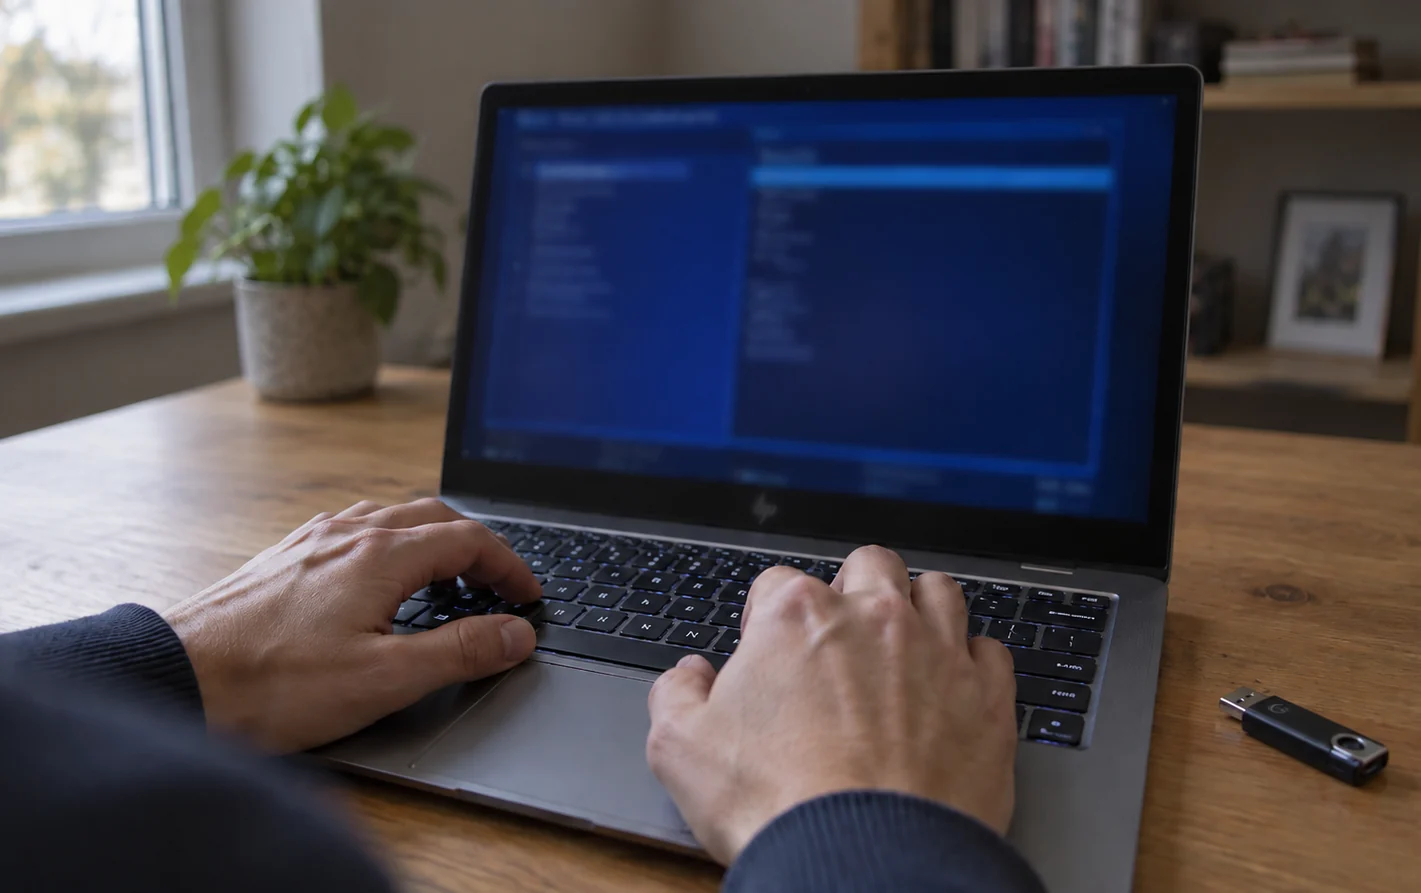
| Check | Why it matters | Where to look |
|---|---|---|
| Virtualisation (Intel VT-x / AMD-V) | Every emulator here needs it. Without it, BlueStacks and MEmu either refuse to start or crawl. | Task Manager → Performance → CPU → Virtualisation: Enabled. If disabled, switch it on in BIOS/UEFI — usually Advanced → CPU Configuration, listed as VT-x or SVM Mode. |
| Secure Boot | A full Android OS generally will not boot with it on. The install looks fine, then the reboot lands on “no bootable device”. | UEFI settings → Boot → Secure Boot. Read the warning below before changing this. |
| Boot mode (UEFI vs Legacy/CSM) | The installer USB and the PC have to agree. A mismatch is why a correctly written USB never appears in the boot menu at all. | UEFI settings → Boot → Boot Mode. |
| RAM and free space | Emulators are memory-hungry; a full OS needs a partition of its own. | 4 GB RAM minimum for an emulator, 8 GB comfortable. A full Android OS runs on 2 GB but wants 16–32 GB of disk. |
Turning Secure Boot off changes the boot configuration, and BitLocker reads that as tampering. Your next start-up will demand the 48-digit recovery key. Find that key before you touch the setting — Microsoft account → Devices → BitLocker keys, or your workplace IT. Without it the drive stays encrypted, and no laboratory can decrypt it for you. See BitLocker recovery for what is and is not possible.
The 6 best Android OS and emulators for Windows PC
1. Bliss OS — best full desktop Android. A free, open-source Android build (based on Android-x86) that runs as a complete operating system on PC hardware. Bliss OS is fast, ad-free, and desktop-friendly, with support for keyboard, mouse and multi-window. Ideal if you want to convert an old laptop into a genuine Android machine. Installation replaces or dual-boots your OS, so back up first.
2. Prime OS — best for PC gamers. Prime OS delivers a desktop Android experience with a Start-menu-style launcher and a dedicated gaming toolkit (key mapping, mouse aiming). It installs to disk like a full OS and runs smoothly even on modest hardware, making it a favourite for turning old PCs into gaming boxes.
3. Android-x86 — best open-source base. The project that most desktop-Android builds are based on. Android-x86 is barebones and less polished, but it's stable, transparent and endlessly configurable — the choice for tinkerers who want vanilla Android running on standard PC hardware.
4. Google Play Games on PC — best official emulator. Google's own native Windows app lets you play a growing catalogue of Play Store games on your PC with proper mouse-and-keyboard support and no fuss. It's lightweight, safe, officially supported, and the easiest starting point if games are your goal.
5. BlueStacks — best all-round emulator. The most popular Android emulator for years, and still excellent in 2026. BlueStacks runs almost any app or game inside Windows, supports key mapping and multiple instances, and doesn't touch your system partitions. Heavier on RAM than a native OS, but by far the simplest for everyday app use.
6. MEmu Play — best lightweight emulator. A snappy emulator that runs well on lower-spec machines, with strong game compatibility and multi-instance support. A great pick if BlueStacks feels too heavy for your PC.

Quick comparison
| Option | Type | Best for | Installs to disk? |
|---|---|---|---|
| Bliss OS | Full OS | Desktop Android on old PCs | Yes |
| Prime OS | Full OS | PC gaming | Yes |
| Android-x86 | Full OS | Tinkerers / vanilla Android | Yes |
| Google Play Games | Emulator | Official game streaming | No |
| BlueStacks | Emulator | All-round app + game use | No |
| MEmu Play | Emulator | Low-spec machines | No |
If you just want to run a few apps or games, start with an emulator — it's safe and reversible. If you want to breathe new life into an old laptop as a full Android device, a full OS like Bliss or Prime is the way, provided you install it carefully.

How to install a full Android OS safely
Emulators are risk-free — install and uninstall like any app. But installing a full Android OS (Bliss, Prime, Android-x86) repartitions your drive, and this is where people lose files. Follow these steps:
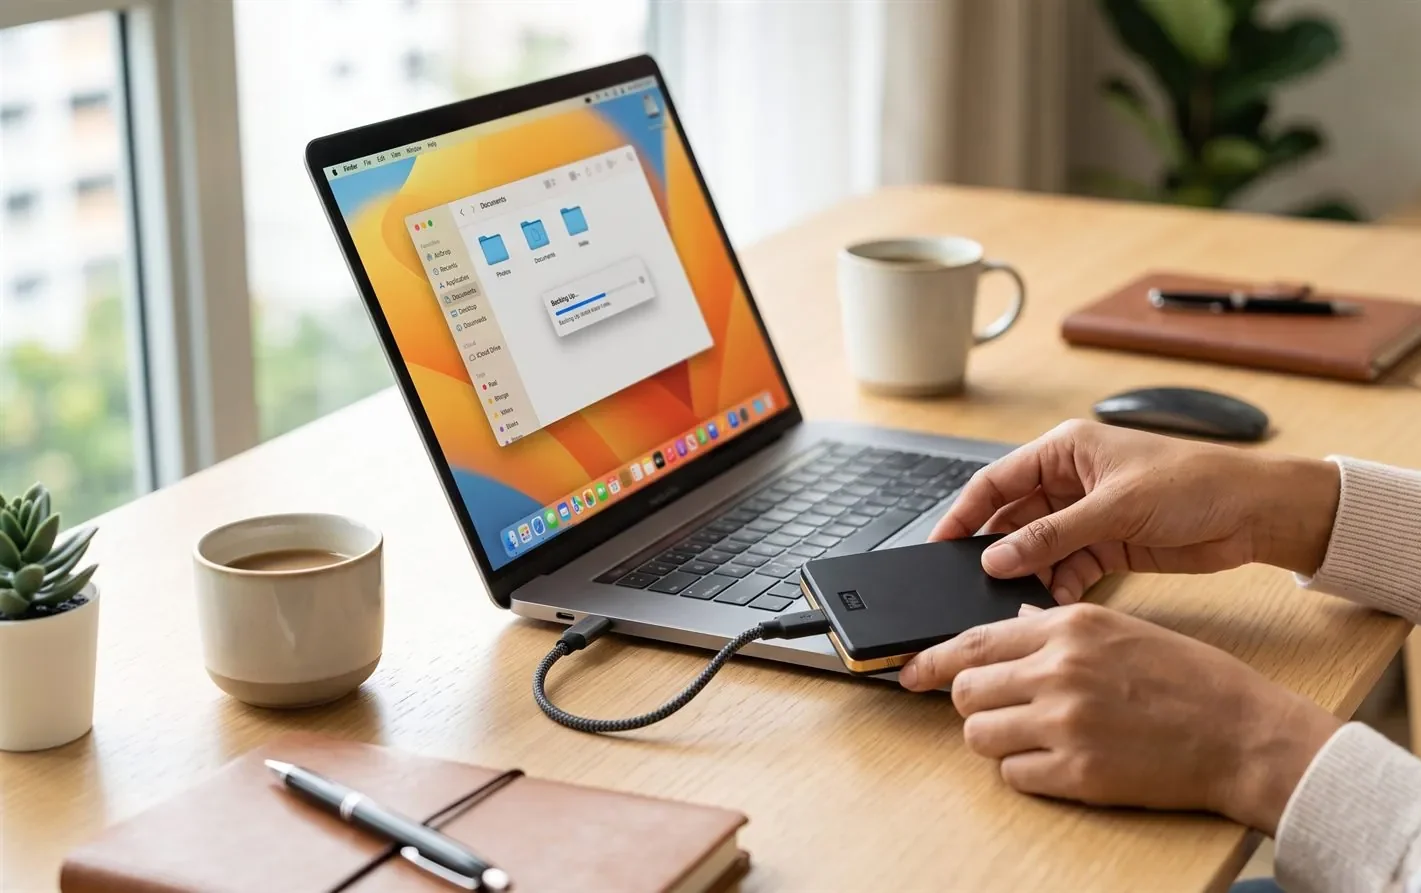
- Back up everything first. Copy irreplaceable files to an external drive or the cloud before you touch partitions. This one step prevents almost every disaster.
- Use a spare or secondary drive where possible, rather than the disk holding your only copy of important data.
- Double-check which partition you select during install. Choosing the wrong one — or accidentally formatting the whole disk — erases Windows and your files.
- Create a Windows recovery USB before dual-booting, so you can restore your bootloader if something goes wrong.
The most common disaster we see isn't a virus — it's someone selecting the wrong drive during an OS install and formatting the disk with their only copy of photos and documents on it. If that happens, stop using the PC immediately (further writes overwrite your files) and get it assessed. See our guide to deleted file recovery in Singapore.
What to do if an install goes wrong
If you formatted the wrong partition or your PC won't boot after a dual-boot attempt, don't panic and don't keep installing things on top of it. Formatted and deleted data is often still physically present until it's overwritten — the less you write to the drive, the better your chances.
- Power down and stop using the drive that held your data.
- Don't reinstall Windows onto the same drive hoping to "fix" it — that can overwrite the very files you want back.
- If the data matters, let a lab image the drive and recover it. For a damaged or unbootable disk, see our hard drive recovery service.
CBL's cleanroom lab recovers data from formatted, repartitioned and unbootable drives every week — free diagnosis, fixed quote before any work.
- WhatsApp: +65 8127 7508
- Call: +65 6588 0261
The five reasons installs actually fail
Roughly in order of how often each one is the culprit:
- Secure Boot is still on. The install completes, the reboot lands on “no bootable device”, and nothing looks broken. Turn Secure Boot off — after reading the BitLocker warning above.
- Virtualisation is disabled. An emulator installs happily, then refuses to launch or runs at a few frames per second. Check Task Manager before you go anywhere near a support forum.
- Boot mode mismatch. The USB was written for UEFI and the PC is in Legacy/CSM, or the other way round. The stick simply never appears in the boot menu.
- The USB was written with the wrong tool. Copying an ISO file onto a stick does not make it bootable. Use a proper writer such as Rufus or balenaEtcher.
- The wrong partition was selected. This is the expensive one. The other four cost you an evening; this one costs your files, and it is the only entry on this list we are ever called about.
